Maintaining your mobile device is crucial for its performance and longevity. Over time, dust, dirt, and grime can build up inside your device, affecting its functionality. Learning how to safely disassemble and clean your mobile device internals not only improves its visual appeal but also enhances its performance. This guide will provide you with essential steps and tips to ensure that you can clean your device without causing any damage. Safety is paramount, and the right tools and techniques will help you navigate this process with ease.
Gather the Necessary Tools
Before you start disassembling your mobile device, it’s vital to gather all the necessary tools. Common tools include a small screwdriver set, plastic spudgers, tweezers, and an anti-static wrist strap. A clean workspace that is free from dust and static electricity is also essential. Consider using a microfiber cloth to ensure that your device remains scratch-free. By having all these tools ready, you can ensure a smoother process and minimize the chance of losing or damaging small components during disassembly.
Power Off Your Device
Turning off your device is a critical step before starting the disassembly process. This ensures that no electrical components are live, preventing the risk of electric shock or damaging the circuitry. Additionally, powering off protects your data from unexpected issues during cleaning. Make sure you hold the power button until the device prompts you to turn it off. Once it is completely powered down, you can proceed with the necessary steps to safely remove the casing and access the internal components.
Remove the Back Cover
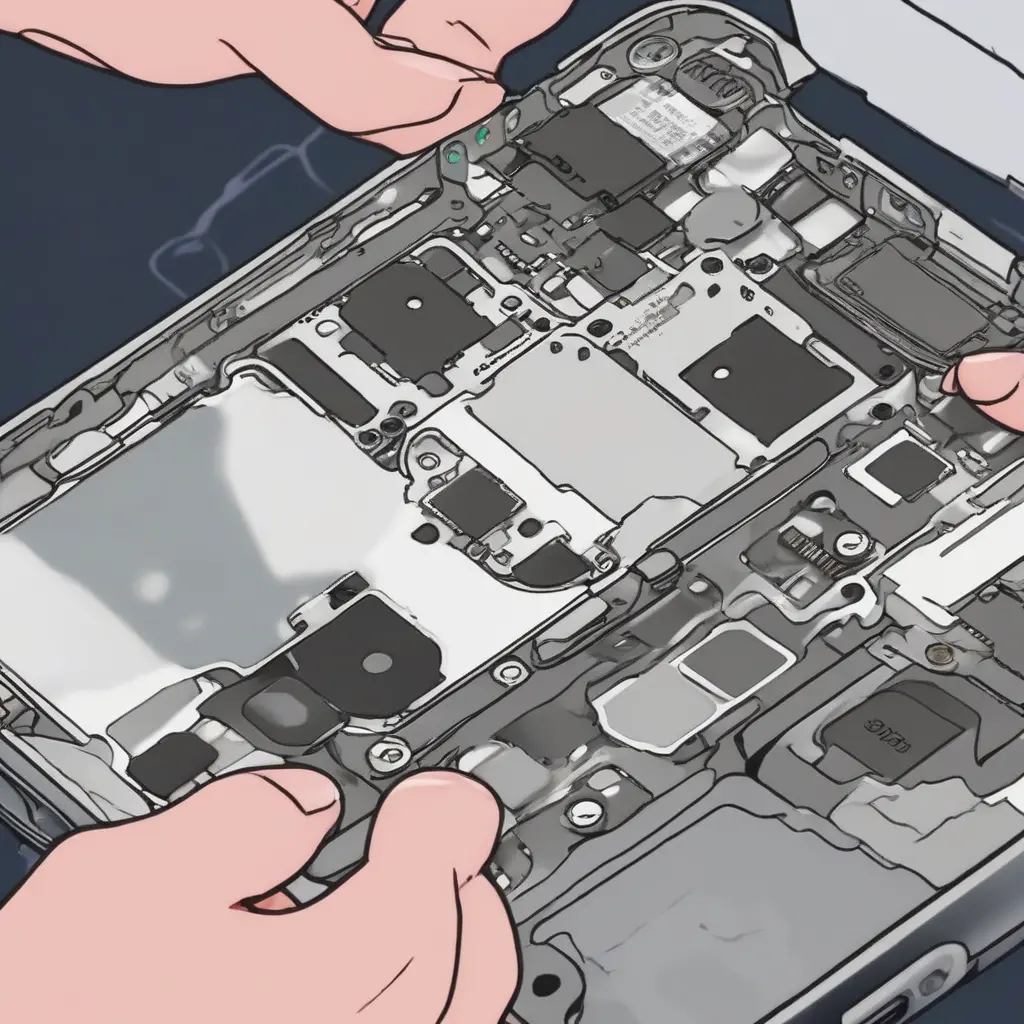
Once your device is powered off, the next step is to remove the back cover. Most modern smartphones have adhesive strips or clips that hold the back cover in place. You can use a plastic spudger to gently pry it off without damaging the casing. If adhesive is tough to loosen, applying some heat using a heat gun or hairdryer on low can soften it. Work slowly and patiently, ensuring you don’t break any clips, as accessing the internals requires care to avoid creating further issues.
Disconnect the Battery
After removing the back cover, the next step is to disconnect the battery safely. Most devices have a battery connector that can be gently lifted with a spudger or tweezers. This step is crucial as it prevents any power source from causing electrical shorts while you’re cleaning. Wait for a few minutes to ensure that any residual charge dissipates. Handle the battery connector and surrounding wiring delicately, as damage to these components could lead to functionality issues down the line.
Clean the Interior Components
With the battery disconnected, you can now clean the internal components of your mobile device. Use a soft, dry brush or compressed air to remove dust and debris from sensitive areas like the charging port, speaker, and camera lens. Avoid using liquids as they may damage the electronic components. For tougher grime, a microfiber cloth lightly dampened with isopropyl alcohol can be used, but ensure that it is not soaking wet. This step enhances the overall performance and clears any impediments in airflow.
Reassemble Your Device
After cleaning, it’s time to reassemble your mobile device. Start by reconnecting the battery carefully, ensuring that the connectors align properly without any force. Next, reattach the back cover by aligning it with the device and pressing it down until it clicks into place. If your device used adhesive, make sure it seals properly. This step is essential for protecting the internal components from dust and grime in the future. Take your time to ensure everything is secure and functions as intended.
Test Your Device
Once the device is fully reassembled, power it back on and test its functionality. Check that the screen lights up, all buttons respond, and there are no issues with charging or connectivity. If everything seems to be operating correctly, you have successfully cleaned and reassembled your device. However, if you notice any problems, re-check your connections or consider seeking professional help. Regular maintenance can significantly enhance the longevity and performance of your mobile device, making it worthwhile.
Safety Precautions
While disassembling and cleaning your mobile device, safety precautions cannot be overlooked. Always ensure you work in a static-free environment, using an anti-static wrist strap if possible, to avoid damaging sensitive electronic components. Additionally, keep small parts organized to prevent loss and ensure proper reassembly. If at any point you feel unsure about a step, consider watching video tutorials or reading user guides specific to your device model. Remember, taking your time is vital.
Regular Maintenance Tips
To maintain your mobile device’s performance, regular cleaning is crucial. Aim to clean your device’s exterior every few weeks, while internal cleaning can be done every six months or as needed, depending on usage. Use cases and screen protectors to minimize dust and debris accumulation. Keep your device away from moisture and extreme temperatures, and monitor battery health. Following these tips will ensure your device remains in optimal condition, reducing the need for costly repairs or replacements.
Conclusion
Successfully disassembling and cleaning your mobile device internals requires careful planning and execution. By following the above steps, you can enhance your device’s performance while ensuring safety throughout the process. Regular maintenance paired with a bit of knowledge can significantly extend the lifespan of your mobile device, allowing you to enjoy seamless functionality for many years to come.